
Last updated October 31, 2026
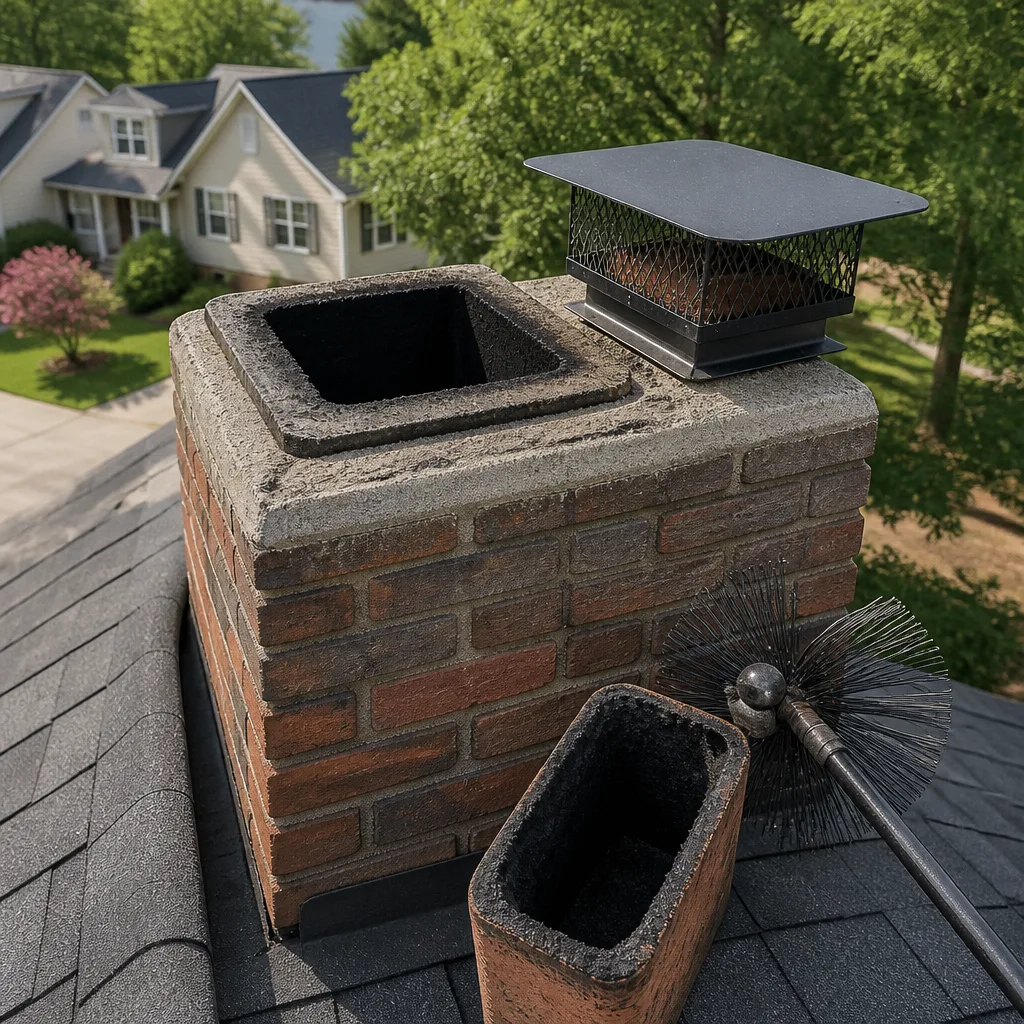 Sweep & inspection
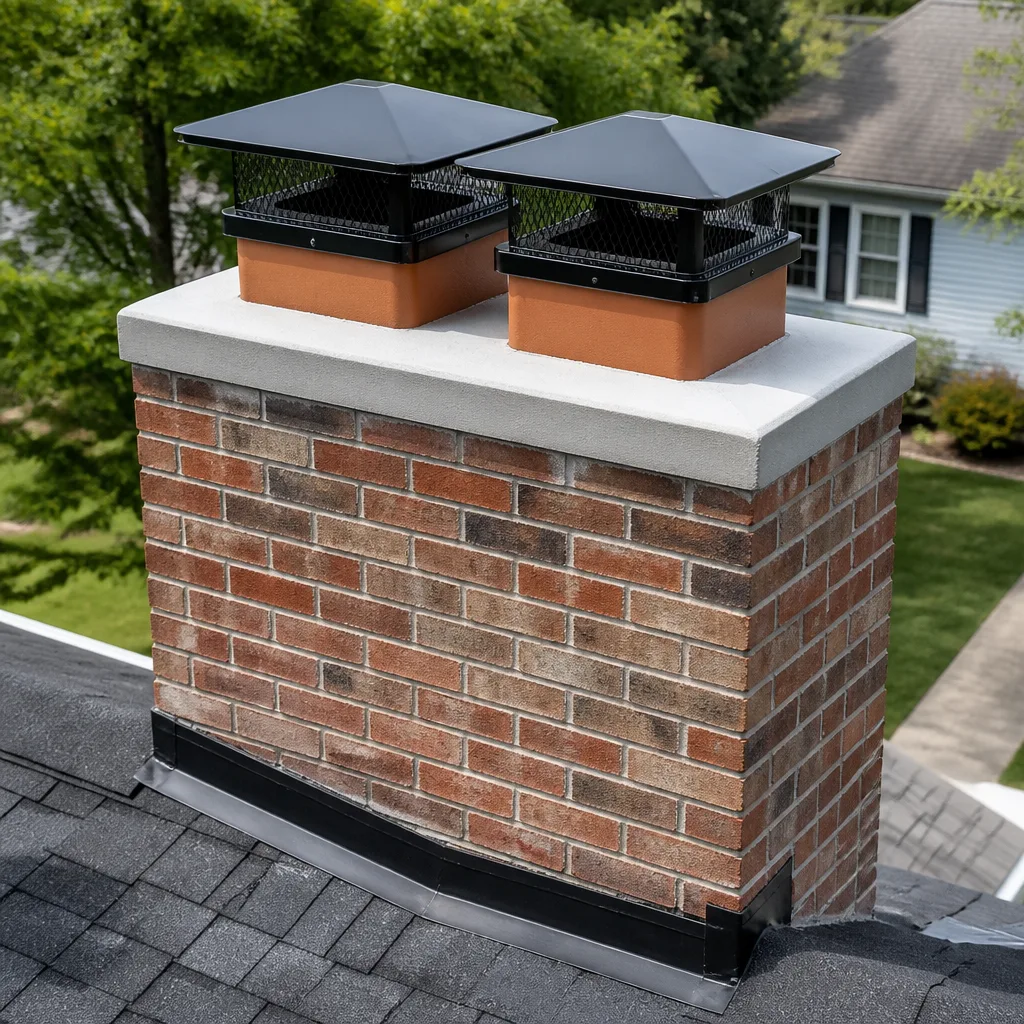 Caps & crowns
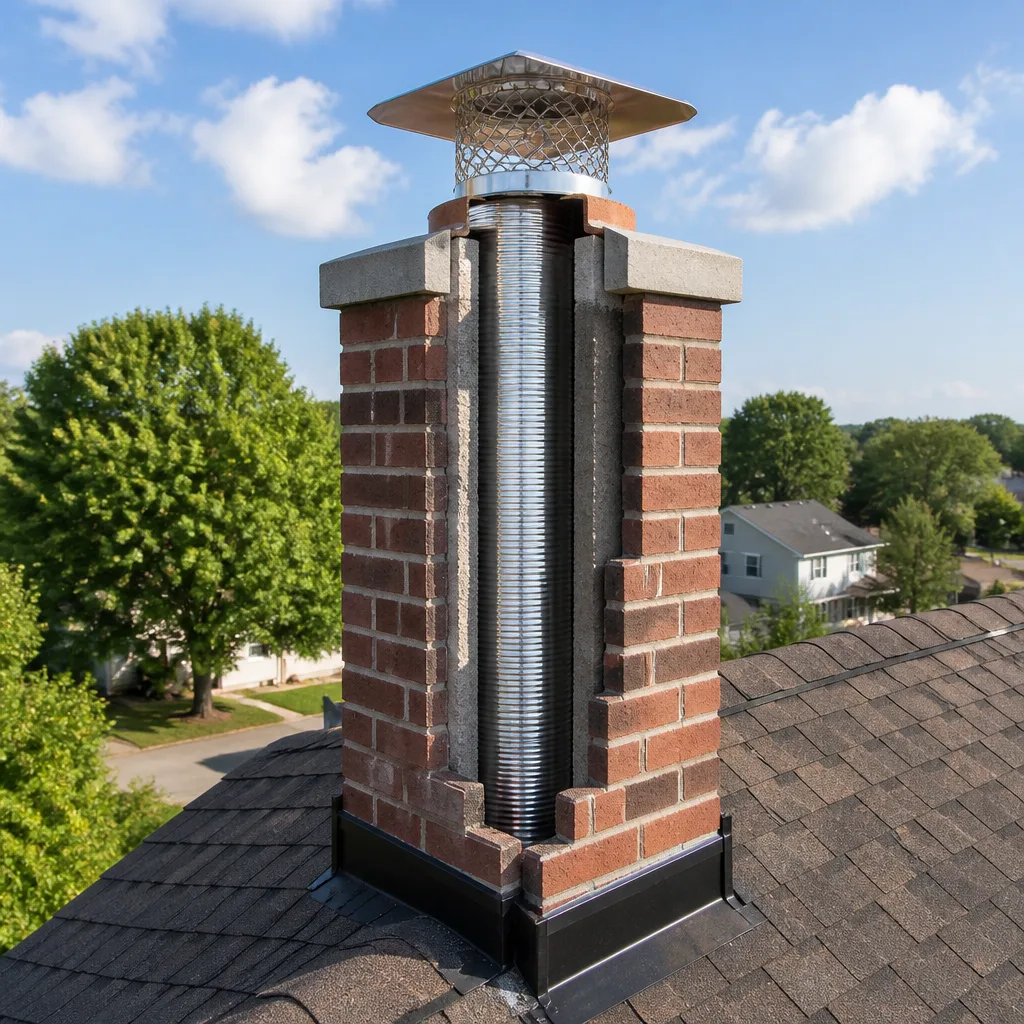 Flue relining
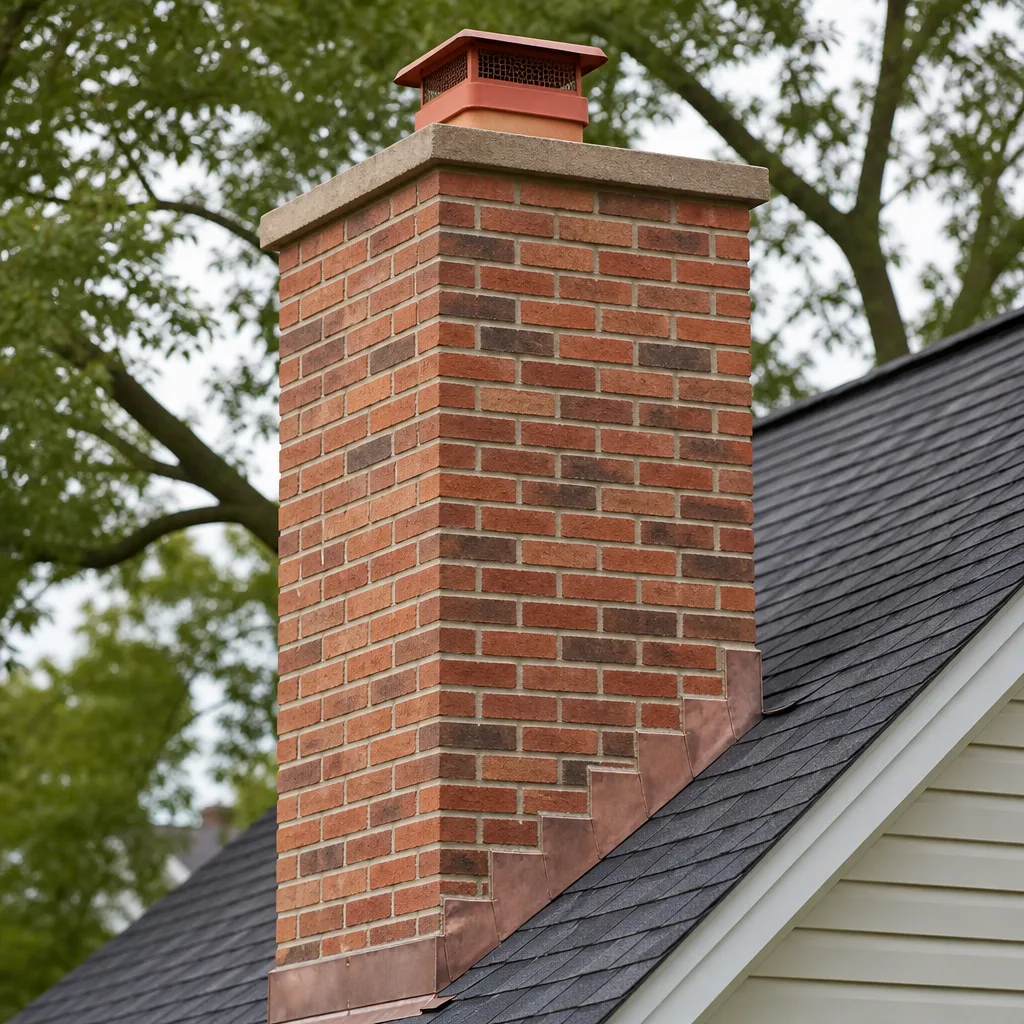 Masonry repair
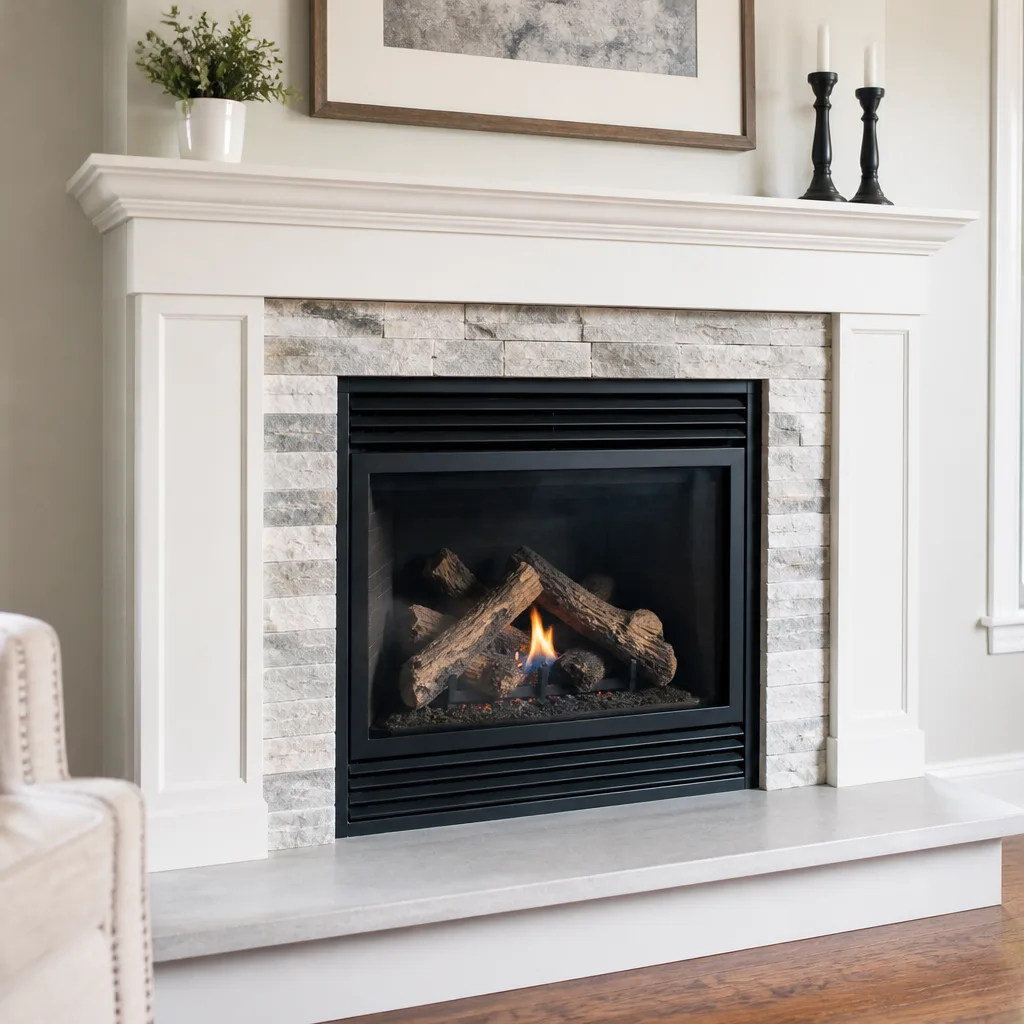 Gas fireplace service
Level 1 sweep and inspection to the NFPA 211 annual standard - flue, crown, cap, and flashing checked and photographed
Chimney sweep logs do not sweep chimneys. They loosen some creosote - which then falls where a brush and vacuum still have to collect it.
Chimney Sweep Maintenance Checklist for Santa Ana Homeowners
The single most skipped item on chimney maintenance checklists in earthquake-prone Southern California is mortar joint re-pointing. A cracked joint at the smoke shelf is invisible from the firebox, yet it exposes framing to flue gases that run well past 1,000°F during a normal fire. Santa Ana homeowners who follow generic, national checklists miss the specific failure points that actually show up here: gas log conversions with incorrect venting, stucco crowns cracked by UV and thermal cycling, and masonry joints stressed by seismic activity. This guide covers the tasks that matter for your chimney, organized by when you should do them, with the detail you need to know whether a problem is urgent or can wait.
Quick Answer
A proper chimney maintenance checklist for Santa Ana homeowners includes a pre-season inspection of the firebox, damper, and chimney cap; a professional chimney sweep at least once per burn season (more if you burn more than two cords of wood or use the fireplace weekly); a post-season inspection of the flue liner and mortar joints; and an immediate inspection after any earthquake above magnitude 4.0. The most overlooked items are gas log venting checks, stucco crown crack repair, and smoke chamber mortar condition. If you skip everything else, at minimum have the flue swept and the mortar joints checked before the first fire of the season.
Styles & brands we work with
Table of Contents
- Pre-Season Checklist: Before the First Fire
- Mid-Season Checklist: What to Watch While You Burn
- Post-Season Checklist: Shutting Down Correctly
- The Seismic Checklist: After Any Earthquake Above 4.0
- Gas Log Conversions: The Checks Most Checklists Miss
- Stucco Crowns and Caps: Southern California’s Weak Point
- Liner Material Checks: Clay Tile vs. Stainless Relining
- How to Self-Assess Your Firebox and Smoke Chamber
Pre-Season Checklist: Before the First Fire
In Santa Ana, burn season typically starts in November and runs through March, but many of our customers fire up the fireplace on the first cool evening in October. Before that first burn, work through these tasks in order. They take about 30 minutes and prevent the majority of chimney fires and carbon monoxide problems we see each year.
- Check the damper. Open and close it fully. Look for rust, warping, or debris on the damper shelf. A damper that won’t seal closed when not in use costs you heated and cooled air year-round.
- Look up the flue with a flashlight. From the firebox, shine a bright light up past the damper. You’re looking for a clear opening, not a wall of black creosote or a bird nest. If you see more than 1/8-inch of black, tar-like buildup, schedule a sweep before burning.
- Inspect the firebox floor and walls. Look for cracked firebrick, missing mortar between bricks, or spalling – brick faces that have popped off or are crumbling. A cracked firebox floor lets embers reach combustible material beneath the fireplace.
- Check the chimney cap from the ground. Use binoculars if needed. You’re looking for a missing or damaged cap, evidence of rust, or a cap that’s tilted. A missing cap is an open invitation for birds, rain, and leaves.
- Test the smoke path with a small piece of newspaper. Light a rolled sheet of newspaper and hold it up inside the firebox with the damper open. If smoke pulls up the flue, the chimney is drafting. If smoke spills into the room, you may have a blockage or negative pressure issue, and you should stop and get it checked before a real fire.
What we see in Santa Ana specifically: ember screens that have warped from coastal UV exposure, damper handles that have seized from disuse over the long Southern California summer, and bird nests built in chimneys that went uncapped after a wind event. If your chimney is on the second story of a stucco-covered Santa Ana home, the cap is often invisible from ground level and gets ignored until a rainstorm reveals the leak. The Santa Ana Chimney Sweep home page covers our full inspection process if you’d rather have a professional handle this first checklist.
Mid-Season Checklist: What to Watch While You Burn
Mid-season maintenance is about noticing changes. Santa Ana’s burn season is shorter than many parts of the country, but the saw-tooth temperature swings – warm afternoons, cold evenings – create real conditions for creosote accumulation and draft changes that you should track.
- Watch for smoke backdrafts during the first 5 minutes of a fire. A chimney that drafts well when hot but spills smoke when cold often has a flue that’s too large for the fireplace or a home that’s too tightly sealed. This is a classic sign of a masonry fireplace that’s been converted to gas logs but still uses the original oversized clay tile flue.
- Listen for the sound of creosote falling. A crinkle or rain-like sound inside the chimney when the fire heats up means creosote has built up on the flue walls and is peeling off. That’s an active fire hazard and a sign to schedule a sweep immediately, not at the end of the season.
- Check for white stains on the exterior brick or stucco around the chimney. White powdery deposits are efflorescence, which means moisture is moving through the masonry. In Santa Ana, this usually points to a cracked crown or failed cap, not rainfall soaking. Water is getting in from above.
- Note any new cracking sounds from the firebox. Rapid heating and cooling of firebrick causes thermal expansion. If you hear popping or cracking sounds from the masonry itself (not the wood), that’s a spalling risk. The brick is losing its structural integrity.
- Keep an eye on soot buildup on glass fireplace doors. Rapid soot accumulation suggests incomplete combustion – either the fire isn’t getting enough air or the wood is too green. In gas log setups, soot on the glass often means the burner ports need cleaning or the air shutter needs adjustment.
If you notice any of these signs, stop burning until the issue is addressed. Most of our mid-season repairs in Santa Ana are for smoke backdraft and damper adjustment – problems that a professional Chimney Sweep in Santa Ana can usually diagnose and correct in a single visit.
Post-Season Checklist: Shutting Down Correctly
When the last fire of winter goes out, your chimney still has work to do. The post-season is the right time for the annual professional sweep, because it removes the creosote that accumulated during the burn season and gives you months to schedule repairs before the next fall.
- Close the damper. Confirm it seats fully. A damper that’s stuck partially open lets conditioned air escape all summer and allows humid air into the flue, which accelerates masonry deterioration. If the damper is warped or the handle is loose, this is when to fix it.
- Schedule the annual professional sweep. The National Fire Protection Association (NFPA 211) recommends a sweep when creosote buildup reaches 1/8-inch, or at least once per year if you burn regularly. In our Santa Ana service area, most homes with wood-burning fireplaces need one sweep per season. Homes with gas logs still need annual servicing – not for creosote, but for soot, spider nests in the burner, and carbon monoxide testing.
- Have the flue liner inspected. This is the single highest-value inspection item, and we cover it in detail in the Chimney Repair in Santa Ana section. Cracked clay tile liners are the most common structural problem we find in older Santa Ana homes, and they cannot reliably be repaired – they need to be relined or resurfaced.
- Clean the firebox. Remove all ash with a metal scoop, not a household vacuum. Ash retains heat far longer than you’d think, and the fine particles will destroy a standard vacuum motor. Leave about one inch of ash in the firebox over the summer if you like – it actually protects the firebrick from temperature extremes.
- Inspect the outside chase or chimney chase top. If your chimney is a wood-framed chase covered in stucco (common in newer Santa Ana construction), check for hairline cracks in the stucco and any gaps around the cap or flue pipe. Water intrusion through a chase top rots the framing and separates the stucco – a repair that runs into thousands of dollars.
The Seismic Checklist: After Any Earthquake Above 4.0
Santa Ana sits in a seismically active zone, and most of our chimney repair calls cluster in the weeks after a noticeableshaker. Chimneys are uniquely vulnerable to earthquake damage because they’re rigid masonry towers attached to a flexible wood-framed house. The two move differently, and the stress concentrates at the roofline.
After any earthquake above magnitude 4.0, run through this checklist before using the fireplace again:
- Look for new cracks in the chimney above the roofline. Use binoculars from the ground. Any crack wider than a hairline, or any crack that wasn’t there before, needs a professional inspection. These cracks let hot flue gases reach framing.
- Check for shifted bricks or separated mortar joints. Horizontal cracks or a chimney that now leans even slightly are urgent. Do not use the fireplace.
- Inspect the chimney cap and crown for fresh damage. A shifted cap is often the first visible sign that the chimney structure itself moved.
- Look inside the firebox for new spalling or displaced firebrick. Firebricks that have popped out of place or cracked in a stair-step pattern indicate the firebox itself was stressed.
- Check the attic where the chimney passes through. Look for daylight around the chimney, new gaps in the chase, or dust and debris that indicates masonry movement. This area is hidden from street view but is where many seismic failures first appear.
If you find any of these signs, do not use the fireplace until a sweep or chimney repair professional has inspected the full system. Earthquake damage to a flue liner may not be visible from outside at all – we regularly find cracked clay tile liners during post-earthquake inspections where the exterior brick looks perfectly fine. A camera inspection is the only way to know for sure.
Gas Log Conversions: The Checks Most Checklists Miss
Many Santa Ana homes have been converted from wood-burning fireplaces to gas log sets. The conversion seems simple – a gas line, a burner pan, some ceramic logs – but the original masonry chimney was built for a very different fire. Generic maintenance checklists don’t account for these conversions, and that’s a real gap.
Gas logs produce a lower-heat, higher-moisture combustion profile than a wood fire. The moisture and combustion byproducts interact differently with the flue, and the original clay tile liner may be dramatically oversized for the gas burner. Here’s what needs checking on a gas log setup every season:
- Verify the damper is permanently fixed in the open position. This is a code requirement for gas log installations – a closed damper with gas logs burning is a carbon monoxide risk. If the damper has been wired or clamped open and the clamp has loosened, fix it before use.
- Check the thermocouple and pilot assembly. A dirty thermocouple causes the pilot to shut down randomly. A thermocouple with carbon buildup is the most common reason Santa Ana gas fireplaces fail mid-season.
- Inspect the B-vent or direct vent clearance where the gas flue passes through the chase. Combustible clearance is non-negotiable. Gas appliances produce high temperatures at the vent connection, and any sagging, rust, or separation in the vent pipe is a serious hazard.
- Look for soot buildup on the artificial logs. Heavy soot means incomplete combustion, usually from a misadjusted air shutter or clogged burner ports. This is a servicing item, not a replacement item.
- Test the carbon monoxide detector in the room with the fireplace. Gas logs produce carbon monoxide. A working CO detector is the only thing between you and an odorless, invisible gas leak. Replace the batteries at the start of every season.
If your gas log set is older than about 15 years and you’re seeing frequent pilot outages or sooting, the burner pan or the whole set may need replacement. This is a job for a chimney professional – gas line work is not a DIY repair. We specify Famco venting components and Copperfield chase covers on most of our Santa Ana gas conversion repairs because these are materials built for the job, not hardware-store substitutes. See our guide on Choosing the Right Chimney Cleaning Brand: A Buyer’s Guide for Santa Ana for more on material selection.
Stucco Crowns and Caps: Southern California’s Weak Point
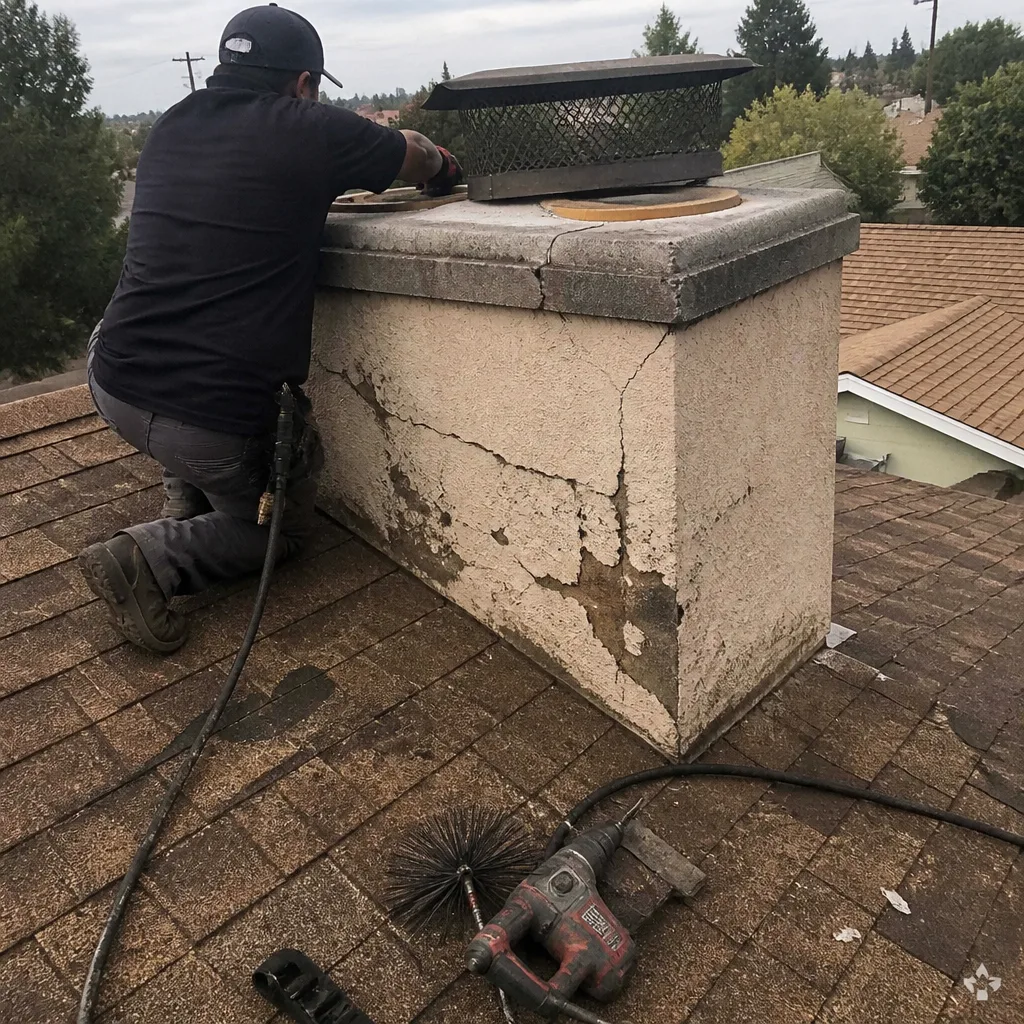
Southern California’s UV exposure and daily thermal cycling do something to chimney crowns that colder climates don’t see: the stucco crown expands and contracts every single day, and after 10 to 15 years, the movement creates hairline cracks that expand into water channels. Once water gets through the crown, it saturates the masonry below, and freeze-thaw damage isn’t even the concern here – instead, the water causes efflorescence, spalling, and rust on embedded steel components.
In Santa Ana, the crown is the most common point of water entry we find on masonry chimneys. Here’s the specific inspection sequence:
- Look at the crown from the ground with binoculars. You’re looking for dark staining, visible cracks wider than a coin edge, or stucco that’s chipping away at the edge of the crown. Any of these means water is getting in.
- Check the bond between the crown and the cap. The cap should sit flush against the crown. A gap here lets rain drive sideways into the chimney during Santa Ana’s occasional hard rain events.
- Inspect the flashing where the stucco chimney meets the roofline. Rusted, lifted, or missing flashing is a separate problem from the crown but just as damaging. Water follows the gap under the stucco and rots the roof decking around the chimney.
- If you can safely access the roof, feel the crown surface. A proper crown should be slightly rough, like a concrete driveway. If it feels sandy or powdery, the surface is deteriorating and needs sealing or replacement. This is a roofer-or-chimney-pro job, not a handyman’s caulk-and-paint fix.
For stucco chases – the wood-framed chimney enclosures common in newer Santa Ana homes – the chase top performs the crown’s job. Look for rust on the chase top, gaps around the flue pipe where it exits the chase, and hairline stucco cracks on the chase sides. We stock Gelco chase covers for exactly this application.
Liner Material Checks: Clay Tile vs. Stainless Relining
The flue liner is the most critical safety component in your chimney, and it’s also the one you can’t see without a camera. In Santa Ana’s housing stock, we encounter two primary liner types: original clay tiles (common in homes built before about 1990) and stainless steel relining systems (either original to newer construction or installed as an upgrade).
Clay tile liners: The original material. Clay tile works fine when it’s intact, but it has real failure modes. Thermal shock from rapid heating and cooling causes vertical cracks. Seismic movement causes horizontal cracks at the mortar joints between tile sections. And acidic condensate from gas log combustion slowly erodes the tile from the inside. Once a clay tile liner is cracked, it cannot safely be repaired with sealant – the crack will reopen under thermal cycling. The two real options are a stainless relining system or a ceramic resurfacing treatment.
Stainless steel relining: When we reline a chimney in Santa Ana, we use DuraFlex flexible stainless liner systems. DuraFlex is the material we specify and install because it’s a continuous, seamless liner that fits inside older or irregular flues without demolition. It’s tested to UL 1777 standard for zero-clearance installation, which means it can be installed in a masonry chimney that has suffered liner damage and safely vent the fireplace without requiring the original clay tile to be intact. For homeowners with cracked clay liners, this is almost always the fastest, least invasive fix.
A third option: HeatShield. For flues with early-stage deterioration – hairline cracking or minor spalling that hasn’t compromised the full liner – HeatShield ceramic resurfacing is a product-backed alternative to a full reline. It’s a concrete-like ceramic material applied inside the existing flue, restoring a smooth, insulated, code-compliant surface without a rebuild. Not every chimney is a candidate, but when it works, it’s significantly less expensive than relining or rebuilding.
What should you look for after a sweep? Ask your technician directly: “Show me the camera footage of the liner.” A professional chimney sweep will walk you through the video. For Chimney Sweep Troubleshooting: Common Problems and How to Fix Them, see our detailed guide. Look for vertical cracks, gaps between tile sections, and any areas where the liner has separated from the masonry. If the footage shows damage, ask specifically whether your chimney is a candidate for HeatShield or whether a DuraFlex reline is the better path.
How to Self-Assess Your Firebox and Smoke Chamber
You can perform a meaningful preliminary assessment of your firebox and smoke chamber before calling a professional, and the photos you take will help the contractor understand what you’re seeing. This isn’t a substitute for a professional inspection – it’s a way to triage.
Firebox floor: Look for spalling, which appears as brick faces that have popped off or crumbled. In a typical Santa Ana home, spalling on the firebox floor comes from one of two causes: moisture saturation from a failed crown, or thermal shock from burning manufactured logs (which burn hotter than cordwood). Also check the mortar joints between firebricks – if you can fit a coin into any joint, the mortar needs re-pointing.
Firebox walls: The back wall sees the most thermal stress. Look for cracked firebricks, bricks that have shifted out of plane, and any gap between the firebrick and the structure behind it. A shifted firebrick is an urgent repair – it means the firebox has lost structural integrity.
Smoke chamber: This is the area above the firebox, below the flue, and it’s the most overlooked part of a chimney. Smoke chamber mortar (called parging) is often thin or missing entirely in older Santa Ana homes, and the issue is invisible unless you’re looking with a light and a mirror. Stand inside the firebox, shine a light up into the smoke chamber, and take a photo with your phone. If the walls look rough, pitted, or show exposed brick, the chamber needs parging.
What photos to send a contractor: One wide shot of the firebox from the front. One close-up of the firebox floor. One close-up of the back wall. One shot up into the smoke chamber with the flash on. One shot of the damper mechanism. Those five photos give a chimney sweep a solid preliminary read before they even arrive.
Common Mistakes to Avoid
- Skipping the annual sweep because “we only use the fireplace a few times a year.” Infrequent use doesn’t prevent creosote buildup – it changes the creosote type. Cool, low-temperature fires create a stickier, more flammable creosote than hot fires. Santa Ana’s occasional-use fireplaces are often dirtier than daily-use fireplaces in colder climates.
- Burning manufactured logs, wrappers and all. Manufactured logs burn hotter than cordwood and the wax content and paper wrappers create heavy ash and soot that coats dampers and caps. Remove the plastic wrapping and follow the burn instructions. Never burn more than one at a time.
- Closing the damper before the fire is completely out. Smoldering embers produce carbon monoxide. Wait until only fine ash remains, or at minimum several hours after visible flame is gone. Carbon monoxide poisoning from a closed damper on a dying fire is a completely preventable accident.
- Using a standard vacuum for ash cleanup. Fine ash destroys vacuum motors and blows ultrafine particles into the air. Use a metal ash vacuum designed for the job, or wait 72 hours and use a metal scoop.
- Ignoring the chimney cap because “it never rains here.” Santa Ana gets about 14 inches of rain a year, and when it rains, it often rains sideways. More importantly, an uncapped chimney is an open cavity for birds, bats, squirrels, and leaves. We remove animal nests from Santa Ana chimneys year-round.
- Patching stucco crown cracks with silicone caulk. Caulk is a temporary seal that fails within one to two years of direct UV exposure. A proper crown repair involves evaluating whether the crown needs re-sealing, patching, or full replacement with a material that can handle the thermal cycling.
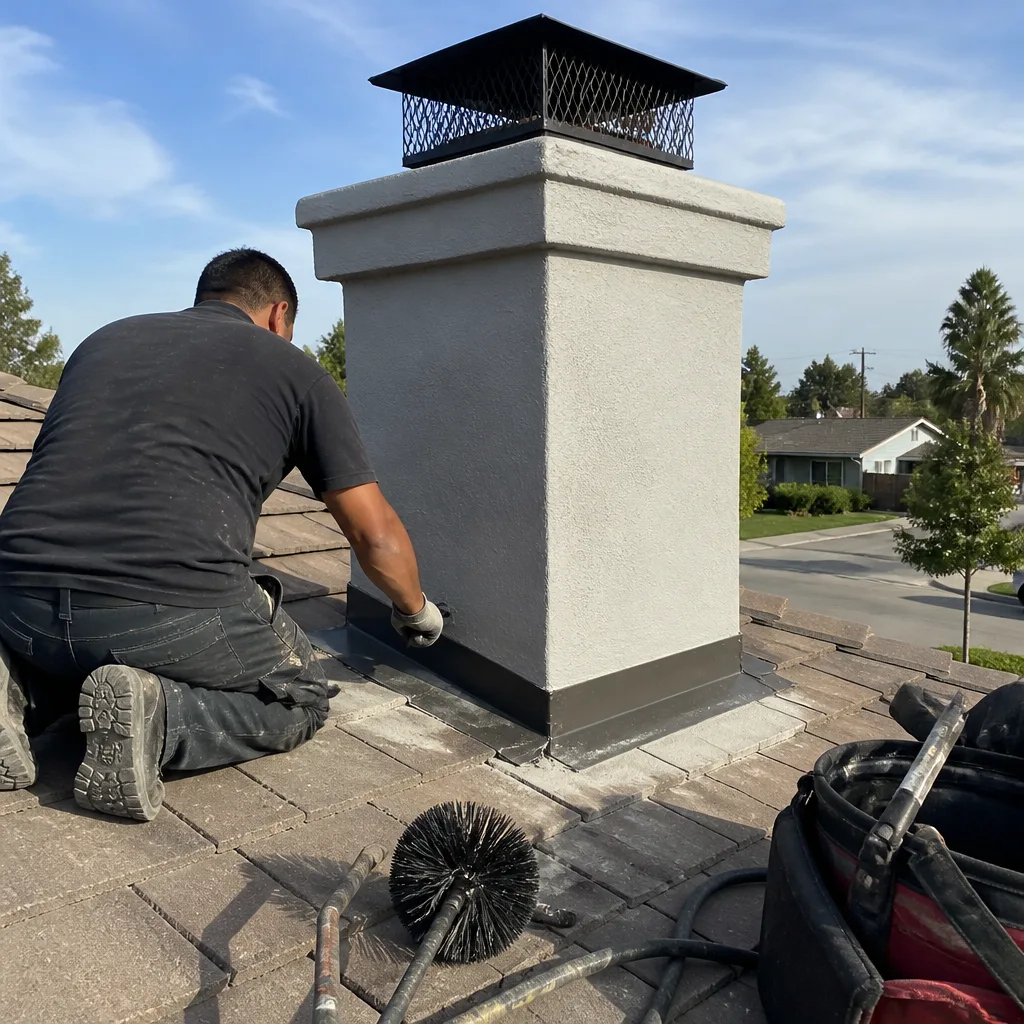
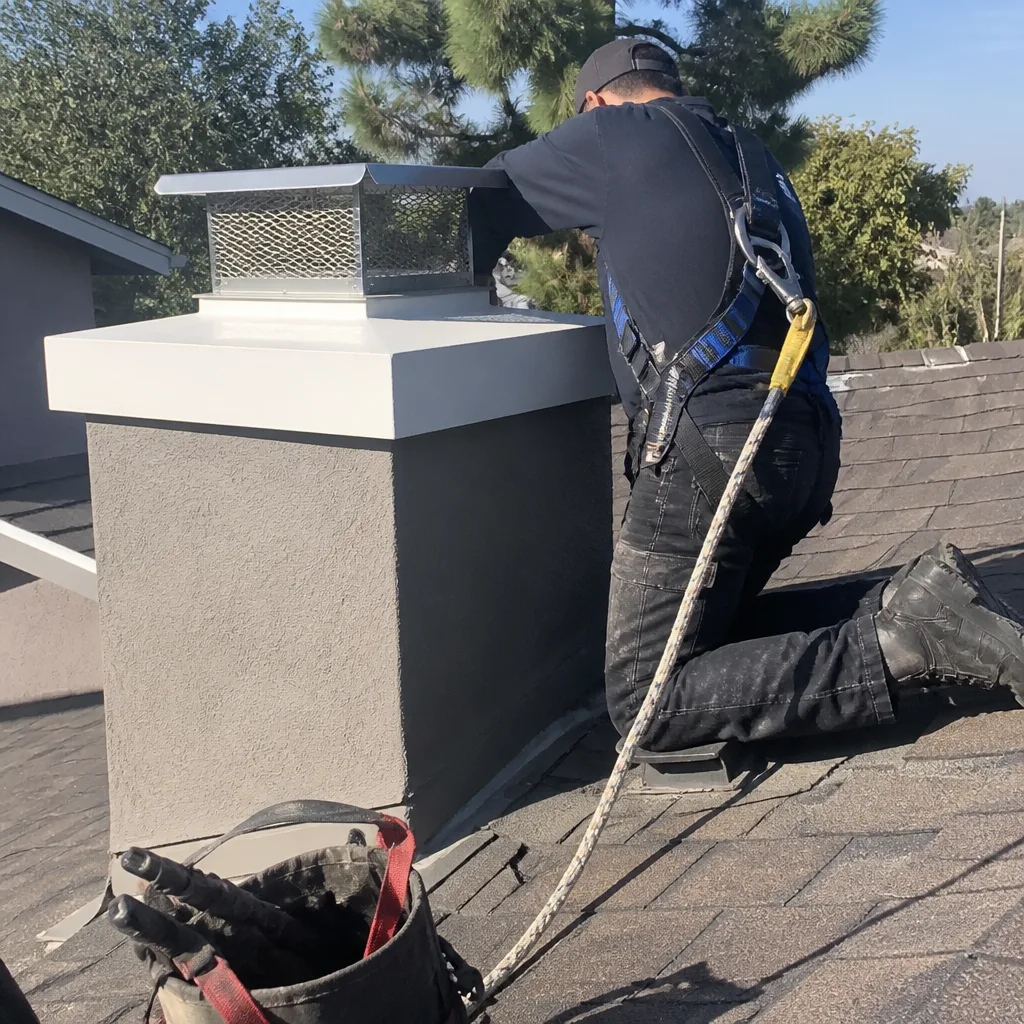
See the difference
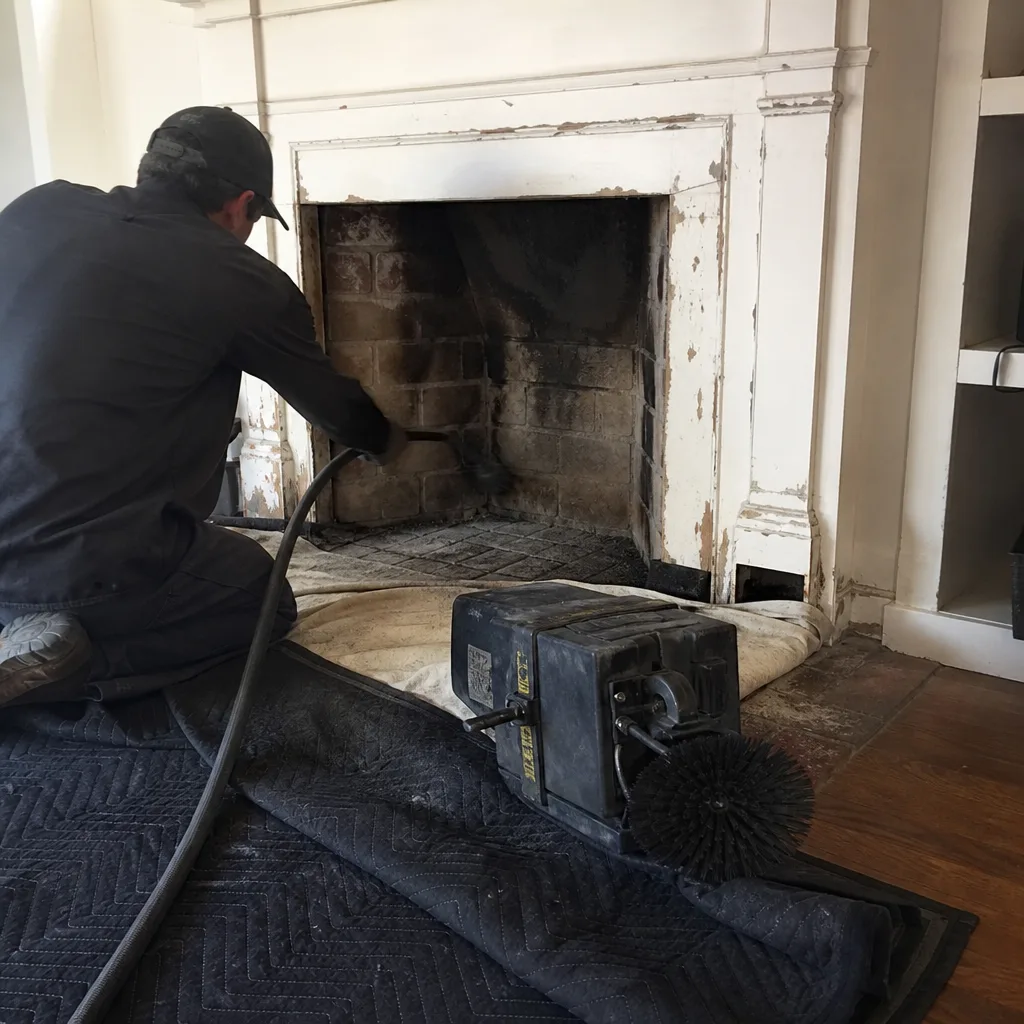 Before
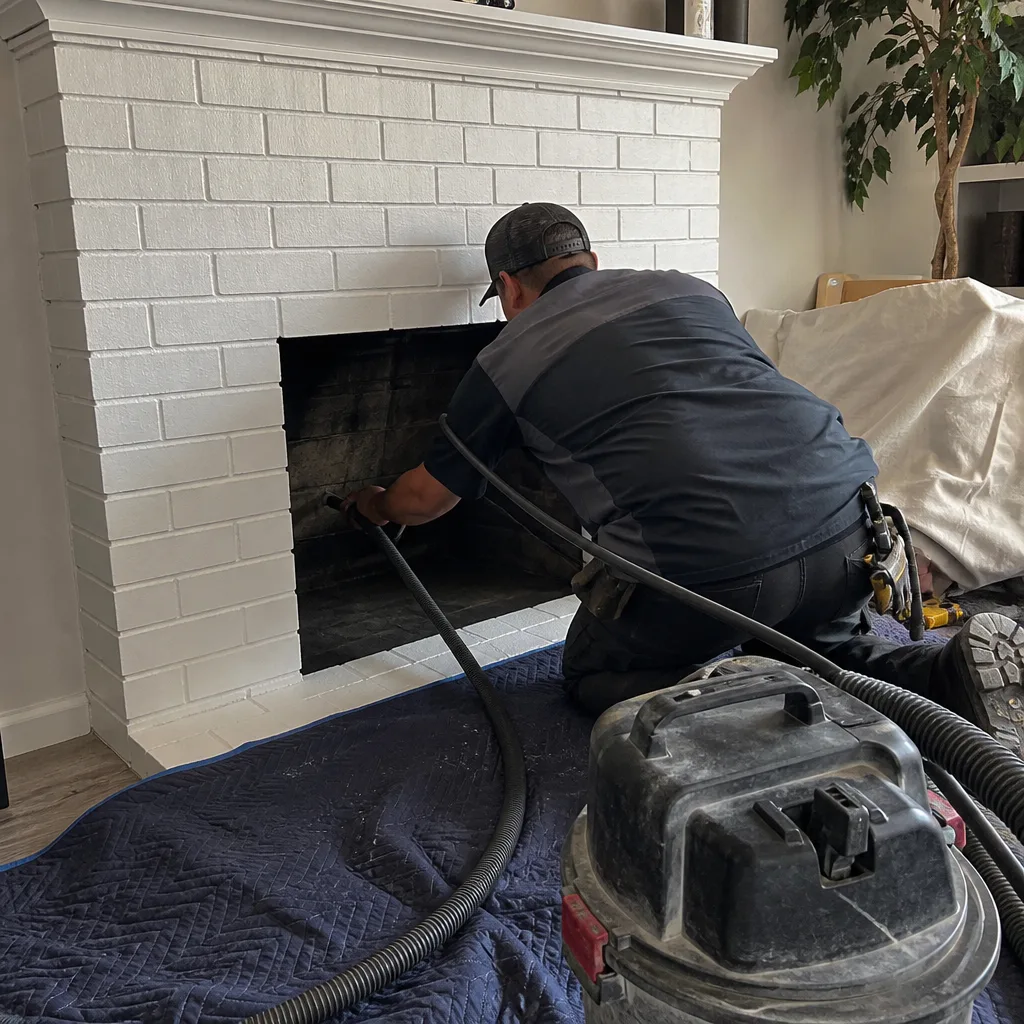 After
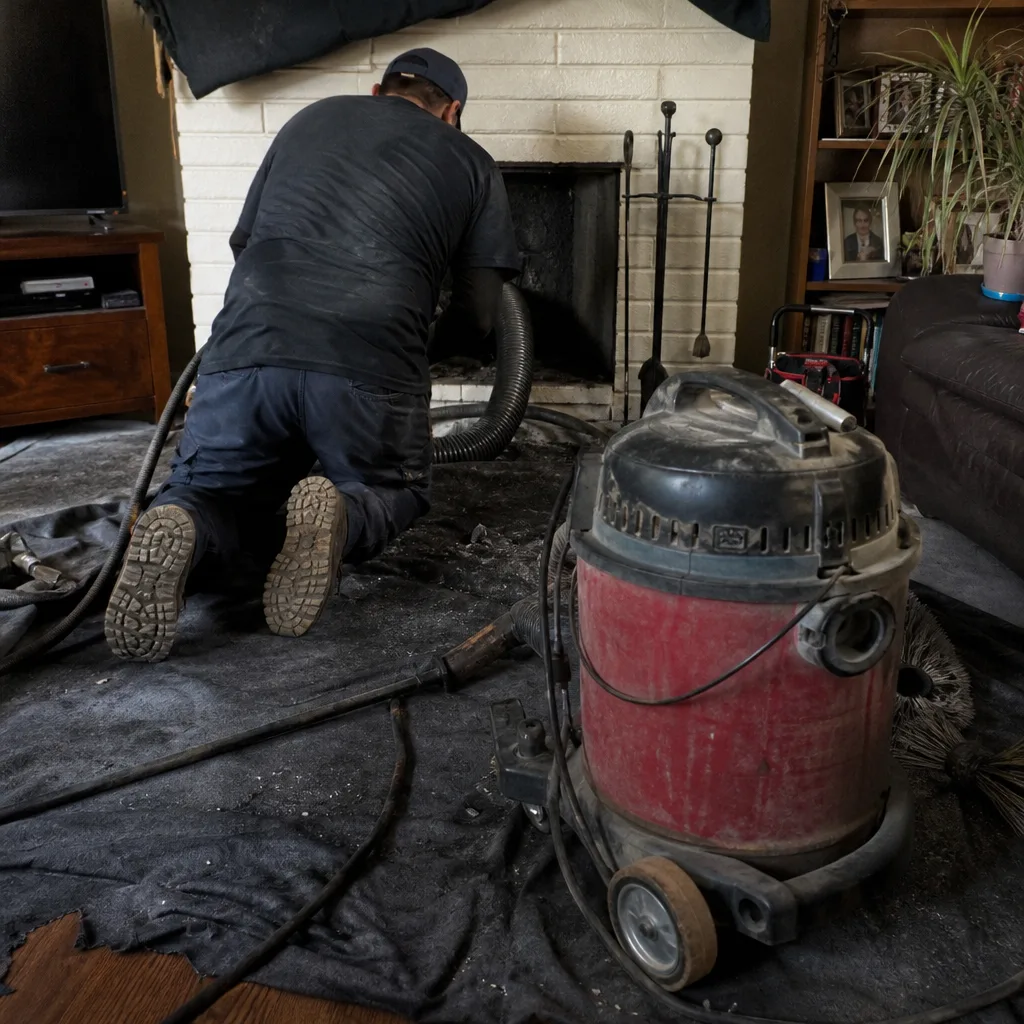 Before
 After
 Before
 After
When to Call a Professional
Call a professional chimney sweep in Santa Ana if you find any of these: visible creosote buildup thicker than 1/8-inch, smoke that backdrafts into the room, a cracked or spalling firebox, any earthquake damage, a damper that won’t open or close fully, or a chimney cap that’s missing. Call immediately if you smell gas from a gas log setup, if you hear crackling from the chimney structure itself (not the fire), or if you see smoke coming from anywhere other than the top of the chimney. Carbon monoxide detectors that go off when the fireplace is in use are a non-negotiable red flag – stop burning and get the system inspected. Santa Ana Chimney Sweep offers free estimates in Santa Ana – call (855) 341-9658.
Frequently Asked Questions
Once per year if you burn wood regularly, or more often if you burn more than two cords of wood per season or notice heavy creosote. Gas log fireplaces should be serviced annually for soot, burner cleaning, and carbon monoxide testing, even though they don’t produce creosote. Our Chimney Sweep in Santa Ana page covers our full sweep process and what to expect.
A professional sweep checks the full system: firebox condition, damper operation, smoke chamber parging, flue liner integrity (usually with a camera), chimney crown and cap condition, and exterior masonry. The sweep removes creosote and debris, then documents any structural issues with photos. You receive a written report of what was found and what needs attention.
A standard chimney sweep in Santa Ana typically runs between $149 and $249 depending on the level of buildup, roof access, and whether the chimney has been recently cleaned. Repairs like crown sealing, damper replacement, or liner work are quoted separately after the inspection. Call (855) 341-9658 for an exact quote – estimates are free.
Yes. Gas logs don’t produce creosote, but they do produce soot, moisture, and carbon monoxide. The burner ports clog, the thermocouple fouls, and spider nests inside the burner can cause delayed ignition. Annual servicing is a safety requirement, not a suggestion, and in Santa Ana where many gas log setups were installed decades ago, older systems often need venting corrections to meet current code.
The two real dangers are chimney fire and carbon monoxide exposure. Creosote ignites at around 451°F, and a hot fire can easily reach that temperature in a coated flue. A chimney fire can burn at over 2,000°F and crack the liner faster than the fire department can arrive. Carbon monoxide is slower and quieter. The most common thing we see in Santa Ana homes that skipped maintenance is not dramatic – it’s steady moisture damage from a failed crown that eventually requires a $3,000 to $8,000 masonry repair instead of a $500 crown replacement.
Yes – both are combustion-vent systems, and both are fire hazards when neglected. Lint-clogged dryer vents are one of the leading causes of house fires in the United States. We treat Dryer Vent Cleaning in Santa Ana as a core safety service, and many of our customers bundle a chimney sweep and dryer vent cleaning in the same appointment to address both systems at once.
The Bottom Line
The chimney maintenance checklist that actually works in Santa Ana isn’t the generic one you’ll find on national home-improvement sites. For more guides & resources tailored to local conditions, explore our blog. Your checklist needs to account for gas log conversions, stucco crown failures from UV and thermal cycling, oversized clay tile flues that don’t match modern fireplaces, and earthquake stress that hits masonry chimneys harder than almost any other part of the house. Do the pre-season checks before the first fire, watch for changes through the burn season, schedule the professional sweep after the last fire, and inspect immediately after any quake above 4.0. Most of the expensive chimney repairs we see in Santa Ana started as small problems that a seasonal checklist would have caught. The house you’re protecting is worth the three hours a year it takes to do this right.
Written by the team at Santa Ana Chimney Sweep, serving Santa Ana since 2016.